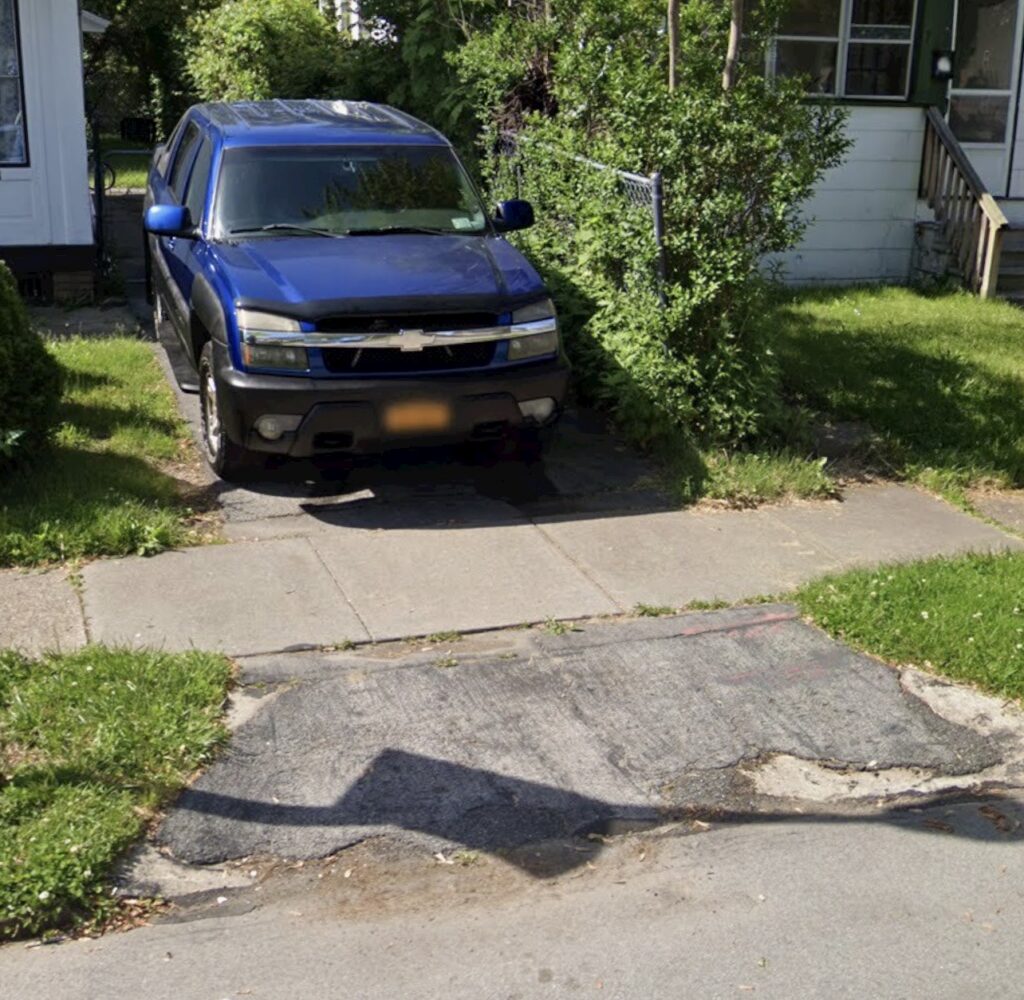
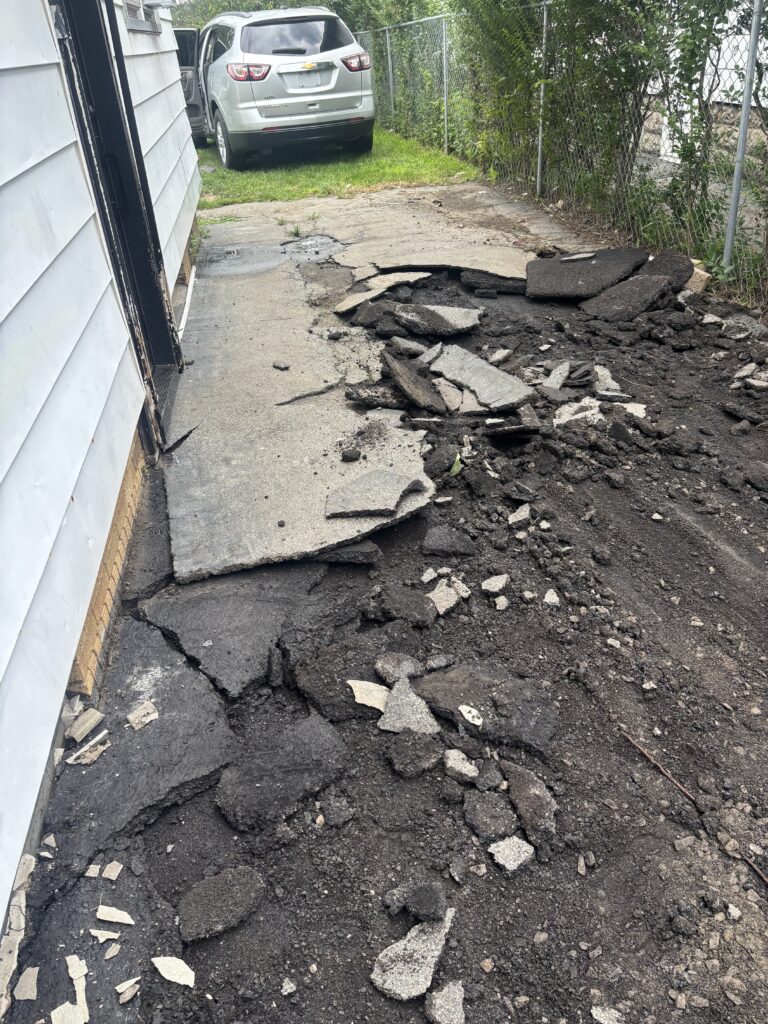
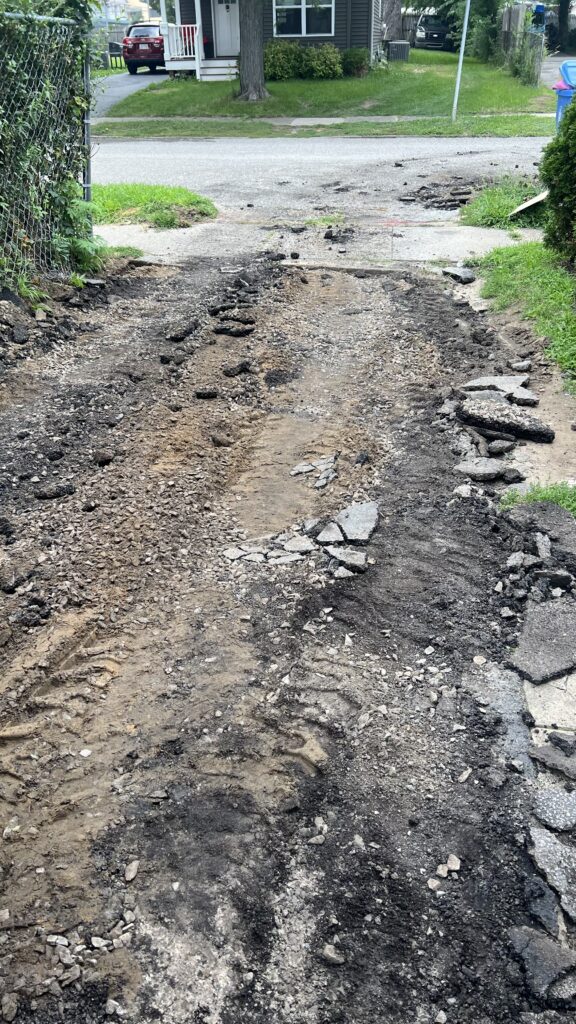
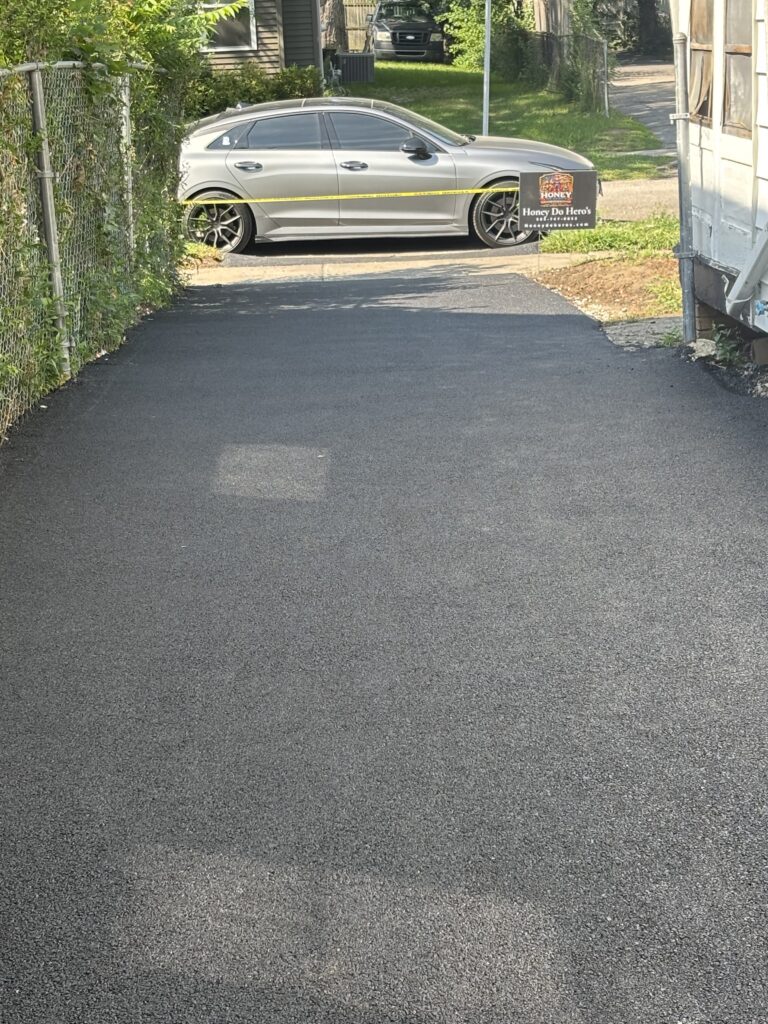
Old driveway removal The existing deteriorated asphalt and portions of old concrete were broken up and removed. The demolition photos show the driveway taken down to the underlying base/subgrade, including badly failed sections beside the house.
Excavation and cleanup Loose asphalt, broken concrete, debris, and weak material were removed. This is important because paving over unstable material would cause the new asphalt to crack or sink prematurely.
Base preparation The exposed driveway was regraded and prepared for paving. From the photos, there appears to be existing stone/base material underneath. Typically this step involves adding or redistributing crushed stone where necessary and compacting it to create a solid foundation.
Grade and drainage correction The new driveway appears to have been graded so water can shed away instead of sitting in low areas. That is especially important in a narrow driveway next to a house.
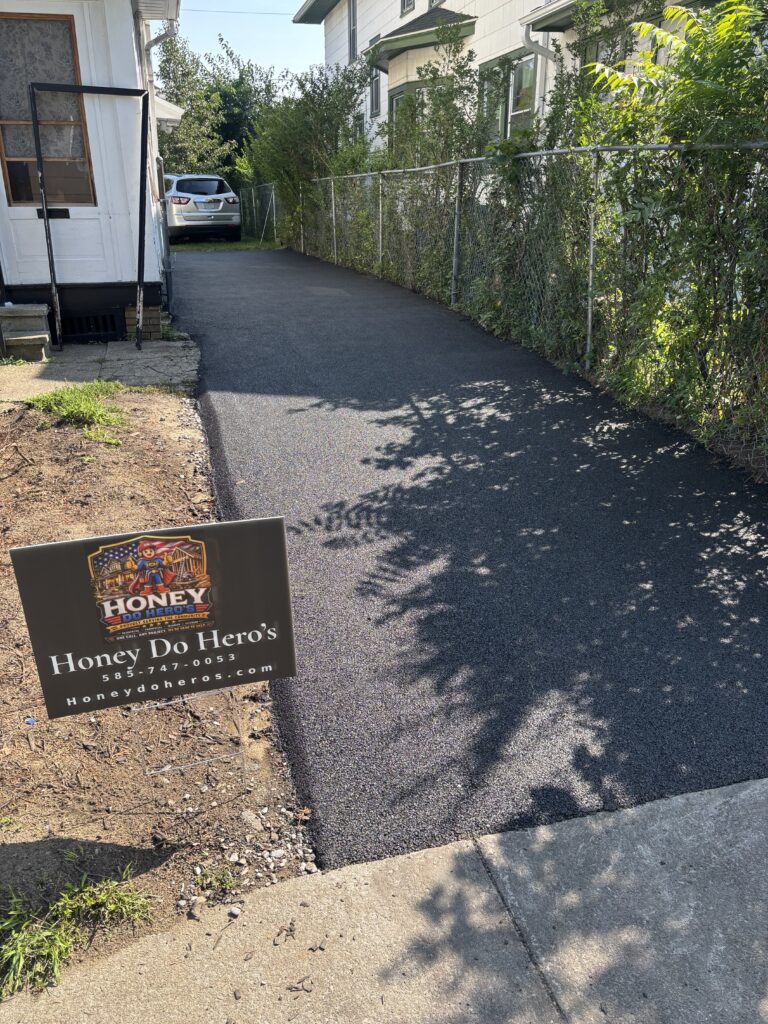
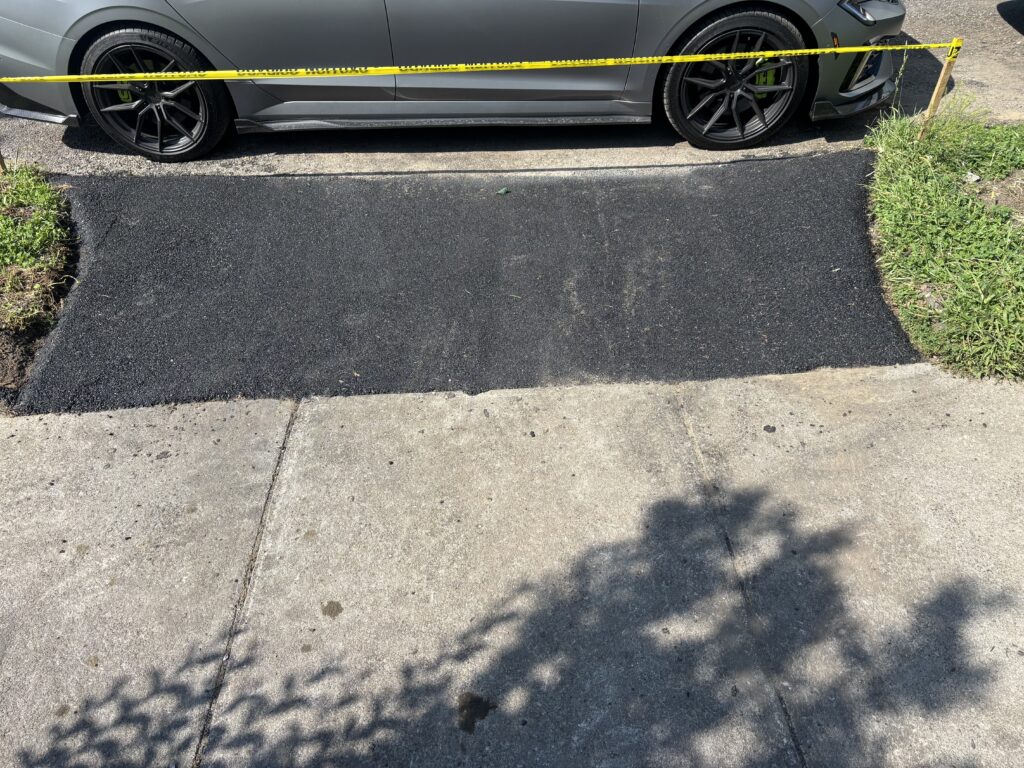
New asphalt installation Fresh hot-mix asphalt was installed over the prepared base and compacted. The finished photos show a smooth, uniform asphalt surface extending from the rear portion of the driveway to the sidewalk/road approach.
Edges and transitions finished The asphalt was shaped and compacted along the fence, house, lawn edges, existing concrete, sidewalk, and street entrance so the driveway transitions cleanly into the surrounding surfaces.